인게임 디버그 콘솔 구현: 명령어 기반 테스트 환경 구축
게임 개발 생산성을 극대화하기 위해 인게임 디버그 콘솔을 설계하고 아이템 생성, 몬스터 스폰, 갓모드 전환 명령어를 체계적으로 구현하는 방법을 다룹니다.
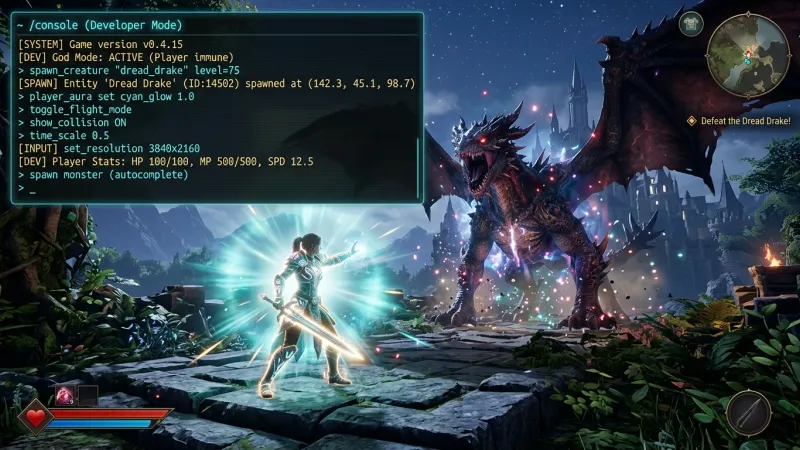
디버그 콘솔이 필요한 이유
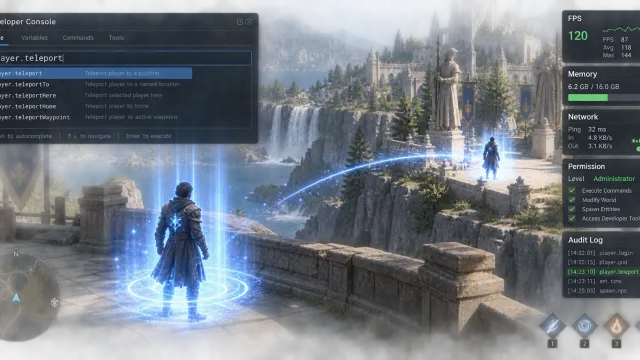
게임 개발 과정에서 특정 상태나 인게임 이벤트를 검증하기 위해 매번 인스펙터 창을 찾거나 테스트용 임시 코드를 작성하는 것은 비효율적입니다. 플레이 도중 키보드 입력 하나로 플레이어 상태 변경, 몬스터 스폰, 특정 아이템 지급 등을 즉시 실행할 수 있는 인게임 디버그 콘솔(In-game Debug Console)을 구축하면 테스트 속도와 작업 생산성이 대폭 향상됩니다.
이 글에서는 Unity C# 환경을 기준으로 특성(Attribute)과 리플렉션(Reflection)을 활용해 새로운 명령어를 손쉽게 추가하고 파싱하는 체계적인 디버그 콘솔 시스템을 설계하고 구현합니다.
디버그 콘솔 구조 설계
디버그 콘솔은 사용자가 입력한 문자열을 해석하여 대상 메소드를 찾아 실행하는 방식으로 작동합니다. 명령어를 하드코딩된 switch-case 문으로 관리하면 새로운 명령어를 추가할 때마다 콘솔 클래스를 수정해야 하므로 확장성이 뛰어난 특성(Attribute) 기반 자동 등록 방식을 사용하는 것이 좋습니다.
flowchart LR
    A[사용자 텍스트 입력] --> B[Command Parser]
    B --> C{Command Registry}
    C -- 명령어 존재 --> D[파라미터 변환 및 실행]
    C -- 명령어 없음 --> E[에러 메시지 출력]
    D --> F[인게임 상태 변경]
시스템 전체 흐름은 사용자가 텍스트를 입력하면 파서가 명령어 이름과 인자로 분리하고 등록된 명령어 사전에서 해당 메소드를 찾아 실행하는 구조입니다.
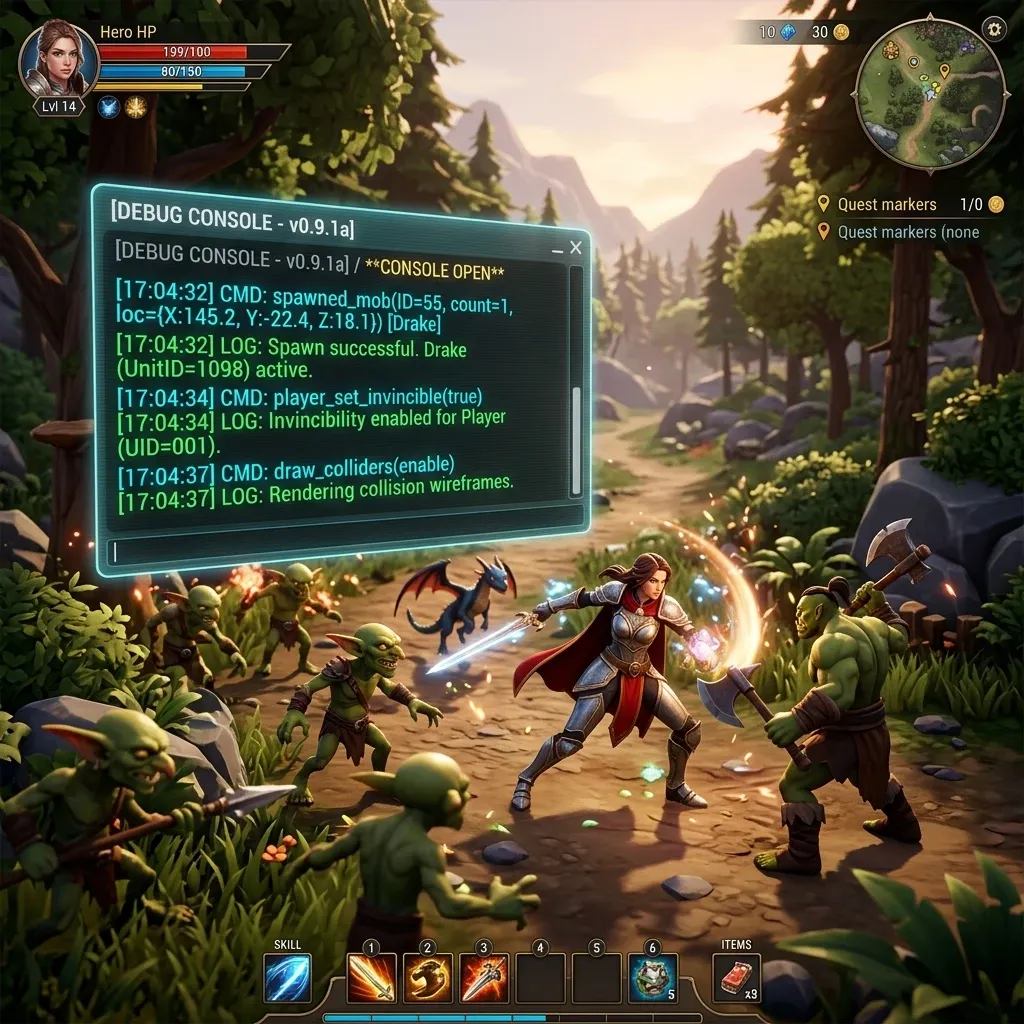
핵심 시스템 구현
1. Command Attribute 정의
특정 메소드를 콘솔 명령어 대상으로 지정하기 위한 커스텀 어트리뷰트를 정의합니다. 명령어의 이름과 사용자에게 보여줄 도움말 설명을 포함시킵니다.
using System;

[AttributeUsage(AttributeTargets.Method, Inherited = false)]
public class ConsoleCommandAttribute : Attribute
{
    public string Name { get; }
    public string Description { get; }

    public ConsoleCommandAttribute(string name, string description = "")
    {
        Name = name.ToLower();
        Description = description;
    }
}
2. 명령어 등록 및 리플렉션 탐색
게임 실행 시 프로젝트 내부의 메소드 중 ConsoleCommandAttribute가 붙은 메소드를 자동으로 찾아 사전에 등록합니다.
using System;
using System.Collections.Generic;
using System.Reflection;

public static class DebugCommandRegistry
{
    internal sealed class CommandInfo
    {
        public MethodInfo Method { get; }
        public string Description { get; }

        public CommandInfo(MethodInfo method, string description)
        {
            Method = method;
            Description = description;
        }
    }

    private static readonly Dictionary<string, CommandInfo> commands = new Dictionary<string, CommandInfo>();

    public static void RegisterAllCommands()
    {
        commands.Clear();
        var assemblies = AppDomain.CurrentDomain.GetAssemblies();

        foreach (var assembly in assemblies)
        {
            foreach (var type in assembly.GetTypes())
            {
                var methods = type.GetMethods(BindingFlags.Static | BindingFlags.Public | BindingFlags.NonPublic);
                foreach (var method in methods)
                {
                    var attr = method.GetCustomAttribute<ConsoleCommandAttribute>();
                    if (attr != null)
                    {
                        commands[attr.Name] = new CommandInfo(method, attr.Description);
                    }
                }
            }
        }
    }

    internal static bool TryGetCommand(string name, out CommandInfo commandInfo)
    {
        return commands.TryGetValue(name.ToLower(), out commandInfo);
    }
}
3. 문자열 파싱과 명령어 실행
입력받은 문자열을 공백 기준으로 잘라 명령어 이름과 인자를 추출합니다. 인자의 타입을 메소드의 파라미터 타입에 맞게 변환하여 호출합니다.
using System;

public static class DebugCommandExecutor
{
    public static string ExecuteCommand(string input)
    {
        if (string.IsNullOrWhiteSpace(input))
            return string.Empty;

        string[] parts = input.Trim().Split(' ', StringSplitOptions.RemoveEmptyEntries);
        string commandName = parts[0].ToLower();
        string[] args = parts.Length > 1 ? parts[1..] : Array.Empty<string>();

        if (!DebugCommandRegistry.TryGetCommand(commandName, out var commandInfo))
        {
            return $"알 수 없는 명령어입니다: {commandName}";
        }

        var parameters = commandInfo.Method.GetParameters();
        if (parameters.Length != args.Length)
        {
            return $"인자 개수가 일치하지 않습니다. 필요 개수: {parameters.Length}, 전달된 개수: {args.Length}";
        }

        object[] convertedArgs = new object[args.Length];
        for (int i = 0; i < args.Length; i++)
        {
            try
            {
                convertedArgs[i] = Convert.ChangeType(args[i], parameters[i].ParameterType);
            }
            catch
            {
                return $"인자 '{args[i]}'를 타입 '{parameters[i].ParameterType.Name}'(으)로 변환할 수 없습니다.";
            }
        }

        try
        {
            commandInfo.Method.Invoke(null, convertedArgs);
            return $"명령어 실행 성공: {commandName}";
        }
        catch (Exception ex)
        {
            return $"명령어 실행 중 오류 발생: {ex.InnerException?.Message ?? ex.Message}";
        }
    }
}
실전 테스트 명령어 구현
이제 게임의 다양한 시스템에서 콘솔 명령어를 정의하여 실제 테스트 환경을 구현합니다. 정적(static) 메소드 형태로 작성하면 리플렉션 탐색 시 인스턴스 생성 없이 손쉽게 호출할 수 있습니다.
1. 갓모드(God Mode) 전환
플레이어의 무적 상태를 토글하는 명령어입니다.
public class PlayerCheats
{
    public static bool IsGodMode { get; private set; }

    [ConsoleCommand("godmode", "플레이어의 무적 상태를 설정합니다. (godmode true/false)")]
    public static void SetGodMode(bool enabled)
    {
        IsGodMode = enabled;
        UnityEngine.Debug.Log($"갓모드 상태: {IsGodMode}");
    }
}
2. 몬스터 스폰 명령어
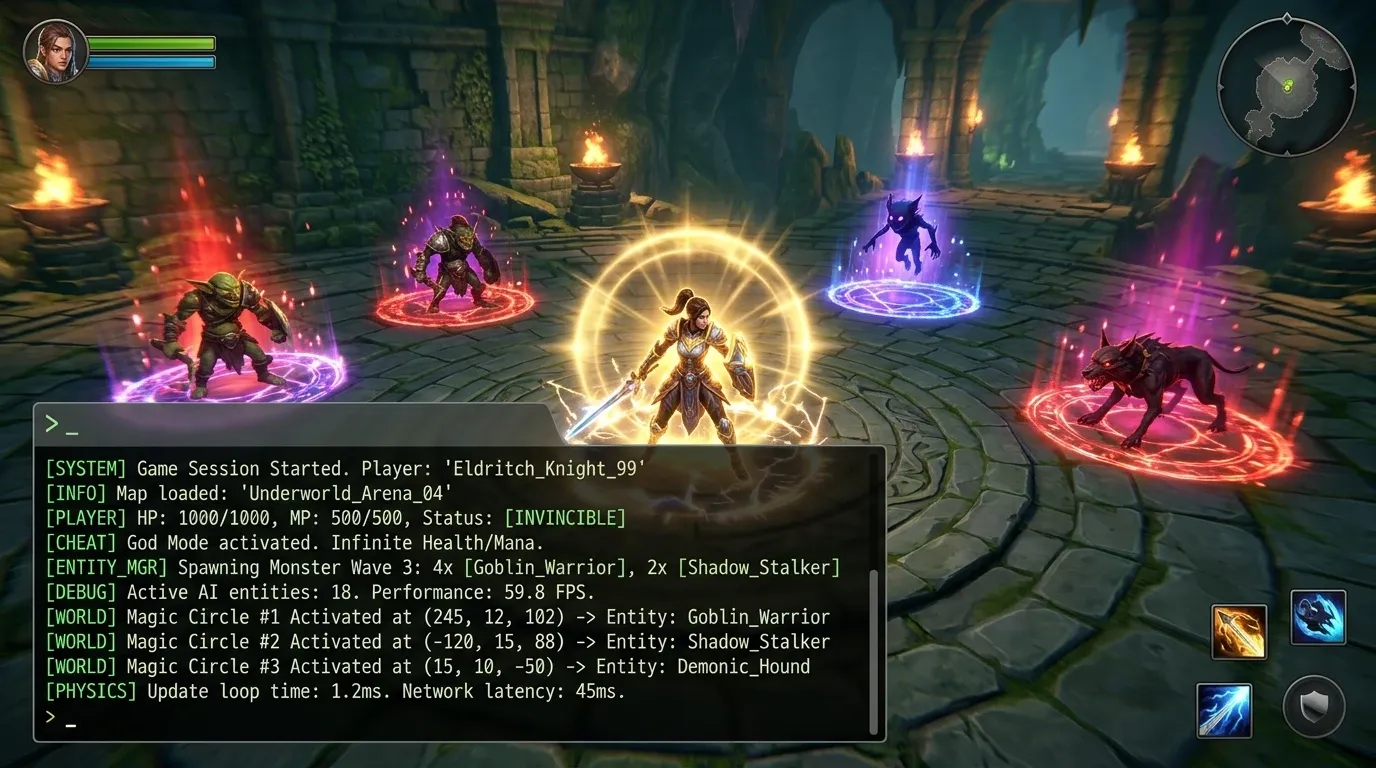
원하는 ID의 몬스터를 지정된 수량만큼 플레이어 주변에 생성하는 명령어입니다.
public class SpawnCheats
{
    [ConsoleCommand("spawn_monster", "특정 몬스터를 지정한 수량만큼 스폰합니다. (spawn_monster monsterId count)")]
    public static void SpawnMonster(string monsterId, int count)
    {
        for (int i = 0; i < count; i++)
        {
            UnityEngine.Debug.Log($"몬스터 스폰 완료: {monsterId} ({i + 1}/{count})");
        }
    }
}
3. 아이템 생성 명령어
지정한 아이템을 플레이어 인벤토리에 추가하는 명령어입니다.
public class InventoryCheats
{
    [ConsoleCommand("give_item", "플레이어에게 아이템을 지급합니다. (give_item itemId amount)")]
    public static void GiveItem(int itemId, int amount)
    {
        UnityEngine.Debug.Log($"아이템 지급 완료: ID {itemId}, 수량 {amount}개");
    }
}
디버그 콘솔 UI 결합 및 예외 처리
실제 인게임에서 디버그 콘솔을 사용할 수 있도록 UI 토글 키(~ 키 등) 입력 처리와 실행 결과를 출력하는 UI 뷰를 연결합니다.
using UnityEngine;
using UnityEngine.UI;

public class DebugConsoleUI : MonoBehaviour
{
    [SerializeField] private GameObject consolePanel;
    [SerializeField] private InputField inputField;
    [SerializeField] private Text logText;

    private void Awake()
    {
        DebugCommandRegistry.RegisterAllCommands();
    }

    private void Update()
    {
        if (Input.GetKeyDown(KeyCode.BackQuote))
        {
            bool isActive = !consolePanel.activeSelf;
            consolePanel.SetActive(isActive);
            if (isActive)
            {
                inputField.ActivateInputField();
            }
        }
    }

    public void OnSubmitCommand()
    {
        string input = inputField.text;
        inputField.text = string.Empty;

        string result = DebugCommandExecutor.ExecuteCommand(input);
        logText.text += $"\n> {input}\n{result}";

        inputField.ActivateInputField();
    }
}
디버그 콘솔 구축 시에는 다음과 같은 예외 상황 조치도 함께 고려해야 합니다.
- 빌드 분리: 디버그 콘솔 기능 및 치트 명령어 클래스는 개발용 빌드나
#if UNITY_EDITOR || DEVELOPMENT_BUILD전처리기 조건문으로 감싸 라이브 클라이언트 유출을 방지합니다. - 타입 변환 에러: int, float, bool 외에도 Vector3, Enum 등의 커스텀 타입 변환기를 등록해 두면 더욱 다채로운 명령어를 처리할 수 있습니다.
정리
어트리뷰트와 리플렉션을 조합한 디버그 콘솔을 도입하면 코드 수정이나 씬 재시작 없이도 치트와 테스트 환경을 빠르게 제어할 수 있습니다. 프로젝트 초기 단계부터 체계적인 콘솔 시스템을 내장해 두면 QA 작업 및 밸런스 테스트의 효율을 극대화할 수 있습니다.