쿼터뷰 카메라 지형지물 투명화: 디졸브 셰이더와 실루엣 모듈 구현
쿼터뷰 시점에서 플레이어를 가리는 지형지물을 자연스럽게 투명화하는 디졸브 셰이더 처리 기법과 Stencil 기반 캐릭터 실루엣 모듈 구현 방식을 상세히 다룹니다.
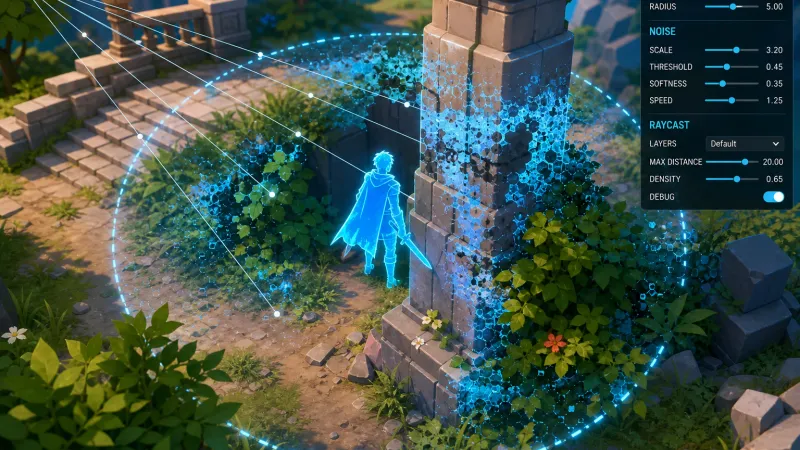
쿼터뷰 시점에서의 오클루전(Occlusion) 문제와 해결 전략
쿼터뷰(Top-Down Quarter-View) 카메라 시점에서는 고정된 고각 및 사각으로 인해 빌딩, 기둥, 나무와 같은 환경 오브젝트가 플레이어 캐릭터를 가리는 현상이 빈번하게 발생합니다. 플레이어 시야 확보를 위해 오브젝트를 완전히 비활성화하거나 단순 알파(Alpha) 반투명 처리를 적용하면 렌더링 파이프라인 상에서 Depth Write 문제나 이질적인 시각 효과가 유발됩니다.
이 문제를 세련되게 해결하는 방식은 크게 두 가지 모듈의 조합입니다.
- 구형/노이즈 디졸브(Dissolve): 플레이어 위치 주변 지형지물의 질감을 노이즈 패턴과 함께 단계적으로 깎아내어 시야를 확보합니다.
- 스텐실(Stencil) 실루엣(Silhouette): 가려진 지형지물 뒤에서도 플레이어의 위치와 동작을 인식할 수 있도록 렌더 큐 및 스텐실 버퍼로 캐릭터 외곽선을 오버레이합니다.
다음 다이어그램은 카메라 오클루전 감지부터 마스크 생성 및 셰이더 렌더링으로 이어지는 파이프라인 흐름을 보여줍니다.
flowchart TD
    A[카메라 위치] -->|Raycast / SphereCast| B(플레이어 가림 오브젝트 검사)
    B -->|오클루전 감지| C[플레이어 월드/화면 좌표 계산]
    C --> D[MaterialPropertyBlock으로 좌표 및 반경 전달]
    D --> E[지형지물 Dissolve HLSL 셰이더 실행]
    D --> F[Player Stencil Buffer 기반 Silhouette 외곽선 Pass]
    E --> G[최종 화면 렌더링]
    F --> G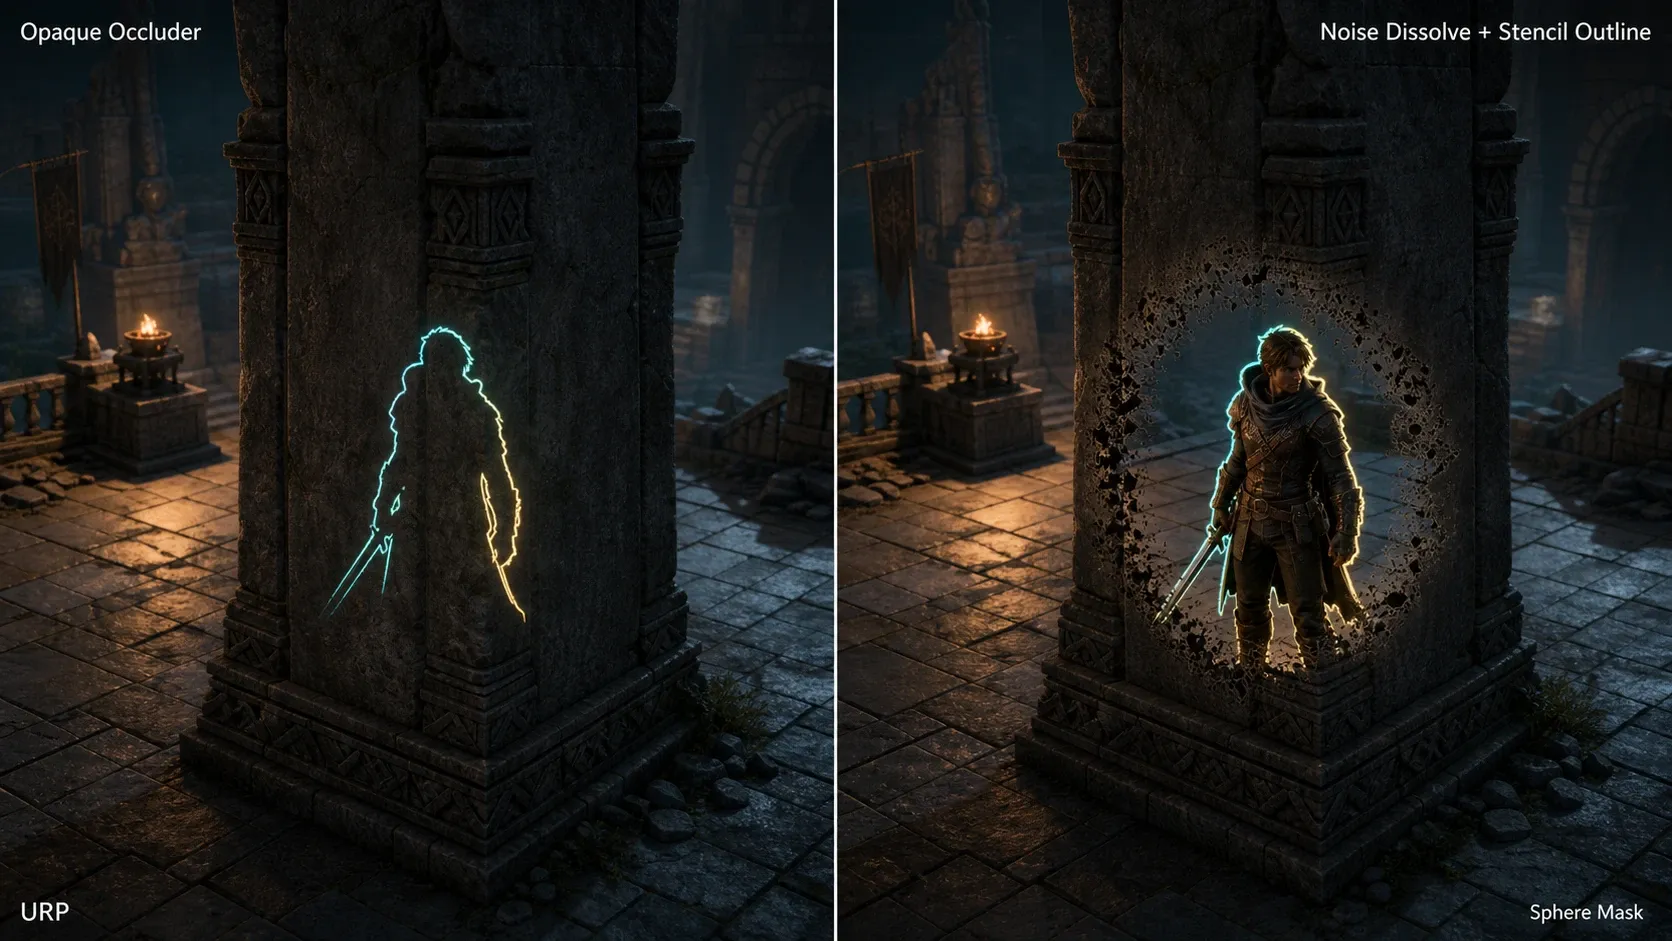
카메라-캐릭터 오클루전 감지 및 데이터 전달
카메라와 플레이어 사이에 레이(Ray) 또는 구체(SphereCast)를 투사하여 플레이어 시야를 가리는 장애물 Collider를 탐지합니다. 탐지된 가림 오브젝트의 메쉬 렌더러에 매프레임 플레이어의 위치 및 영향을 미칠 구형 반경 값을 전달합니다.
MaterialPropertyBlock을 사용하면 렌더러마다 값을 전달하면서 별도의 머티리얼 인스턴스를 만들지 않을 수 있습니다. 다만 URP의 SRP Batcher와 호환되지 않으므로, 이 방식이 드로우 콜이나 렌더링 비용을 항상 줄인다고 가정하지 말고 타깃 프로젝트에서 비교해야 합니다.
using UnityEngine;

public class CameraOcclusionDetector : MonoBehaviour
{
    [SerializeField] private Transform playerTransform;
    [SerializeField] private float dissolveRadius = 3.0f;
    [SerializeField] private LayerMask obstacleMask;

    private MaterialPropertyBlock propertyBlock;
    private static readonly int PlayerPosID = Shader.PropertyToID("_PlayerWorldPos");
    private static readonly int DissolveRadiusID = Shader.PropertyToID("_DissolveRadius");

    private void Awake()
    {
        propertyBlock = new MaterialPropertyBlock();
    }

    private void Update()
    {
        if (playerTransform == null) return;

        Vector3 cameraPos = transform.position;
        Vector3 targetPos = playerTransform.position;
        Vector3 direction = targetPos - cameraPos;
        float distance = direction.magnitude;

        RaycastHit[] hits = Physics.SphereCastAll(cameraPos, 0.5f, direction.normalized, distance, obstacleMask);

        foreach (var hit in hits)
        {
            Renderer obstacleRenderer = hit.collider.GetComponent<Renderer>();
            if (obstacleRenderer != null)
            {
                obstacleRenderer.GetPropertyBlock(propertyBlock);
                propertyBlock.SetVector(PlayerPosID, targetPos);
                propertyBlock.SetFloat(DissolveRadiusID, dissolveRadius);
                obstacleRenderer.SetPropertyBlock(propertyBlock);
            }
        }
    }
}
구형 거리 감쇄와 노이즈 패턴 기반 디졸브 셰이더
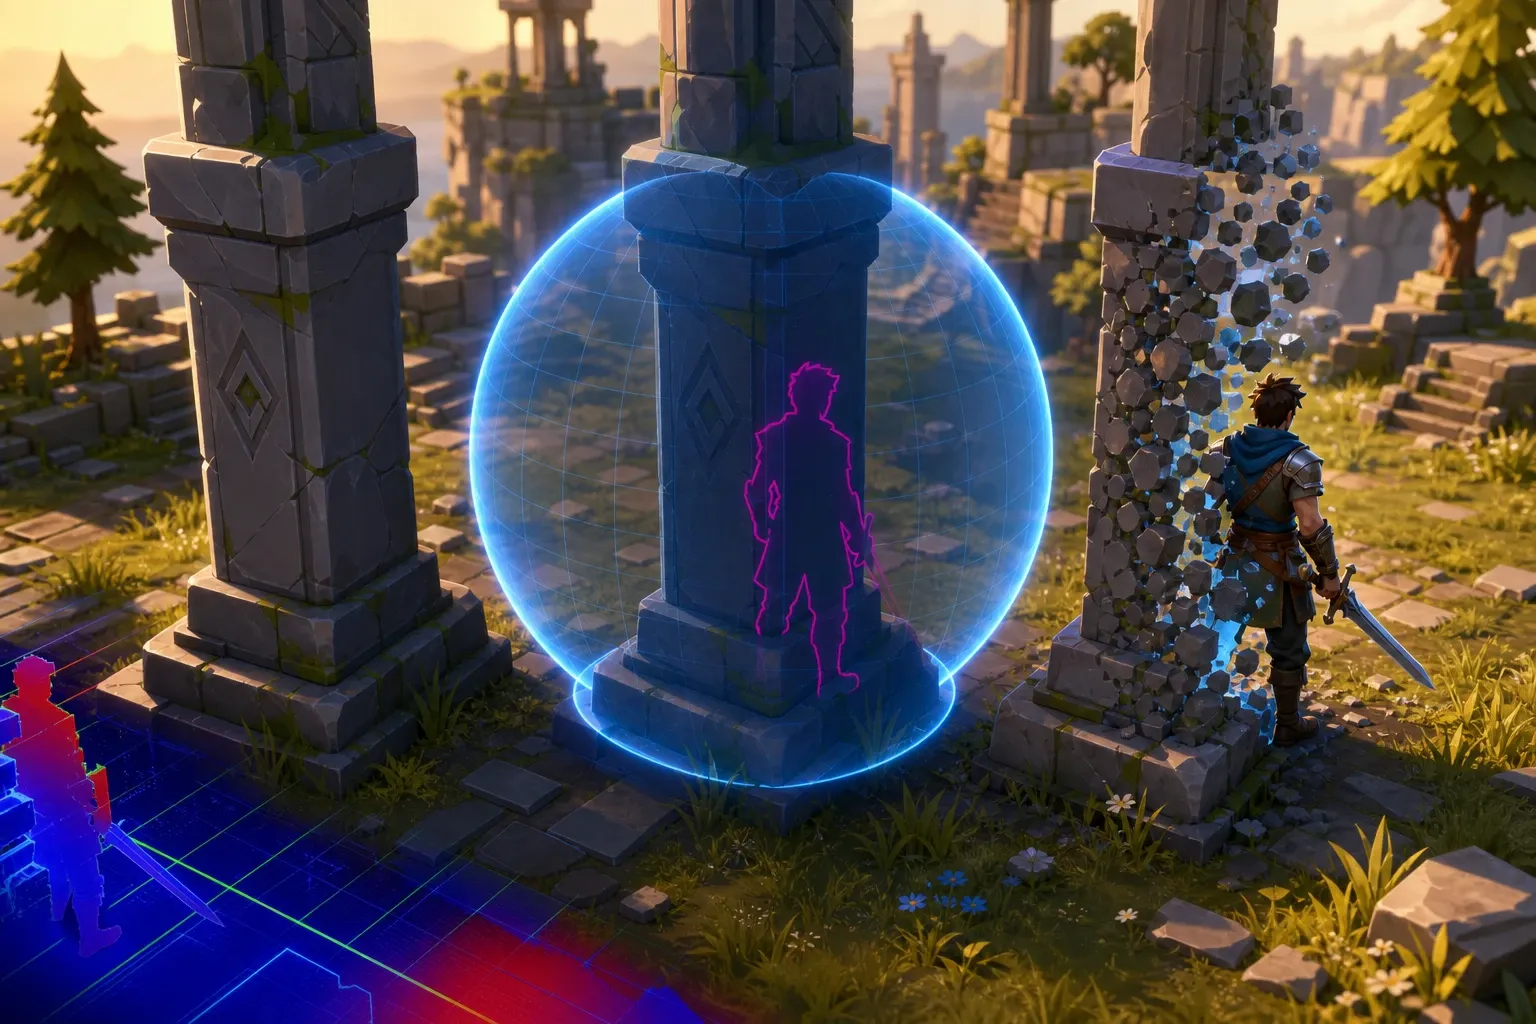
가림 오브젝트 셰이더에서는 플레이어 월드 좌표와 현재 픽셀(Fragment)의 월드 좌표 간 거리를 산출하여 구형 영향권 마스크를 만듭니다.
월드 좌표 픽셀 와 플레이어 위치 , 설정 반경 에 따른 거리 감쇄 는 다음과 같이 정의됩니다.
이 감쇄값과 3D Perlin Noise 또는 Simple Noise 텍스처 를 조합하여 컷오프 임계값 마스크 을 계산한 후 clip() 명령으로 픽셀을 투과시킵니다.
// HLSL Fragment Shader 예제
#include "Packages/com.unity.render-pipelines.universal/ShaderLibrary/Core.hlsl"

Texture2D _NoiseTex;
SamplerState sampler_NoiseTex;
float3 _PlayerWorldPos;
float _DissolveRadius;

struct Attributes
{
    float4 positionOS : POSITION;
    float2 uv : TEXCOORD0;
};

struct Varyings
{
    float4 positionCS : SV_POSITION;
    float3 positionWS : TEXCOORD0;
    float2 uv : TEXCOORD1;
};

Varyings vert(Attributes input)
{
    Varyings output;
    VertexPositionInputs vertexInput = GetVertexPositionInputs(input.positionOS.xyz);
    output.positionCS = vertexInput.positionCS;
    output.positionWS = vertexInput.positionWS;
    output.uv = input.uv;
    return output;
}

half4 frag(Varyings input) : SV_Target
{
    float dist = distance(input.positionWS, _PlayerWorldPos);
    float attenuation = saturate(1.0 - (dist / _DissolveRadius));

    half noise = SAMPLE_TEXTURE2D(_NoiseTex, sampler_NoiseTex, input.uv * 4.0).r;
    float dissolveMask = noise - attenuation;

    // 마스크 값이 0 미만인 구역 제거 (디졸브 구멍 생성)
    clip(dissolveMask);

    half4 color = half4(0.8, 0.8, 0.8, 1.0);
    return color;
}
Stencil Buffer를 활용한 캐릭터 실루엣 모듈
디졸브 셰이더만으로 지형지물을 뚫었을 때 기둥 뒤편 경계선이나 부분 가림 상태에서 플레이어 형태 파악이 모호할 수 있습니다. 스텐실 버퍼(Stencil Buffer)를 이용해 캐릭터 렌더링 시 전용 값을 기록하고 장애물에 의해 Depth Test가 실패하는 영역에 강렬한 단색 실루엣 외곽선을 추가하는 기법을 병행합니다.
1. 플레이어 캐릭터 셰이더 Pass (Stencil Write)
플레이어 본체 메쉬를 그릴 때 Stencil Buffer에 기준값(Ref 값 1)을 기록합니다.
Pass
{
    Name "PlayerBase"
    Tags { "RenderType"="Opaque" "Queue"="Geometry" }

    Stencil
    {
        Ref 1
        Comp Always
        Pass Replace
        ZFail Replace
    }

    // 캐릭터 메쉬 기본 렌더링 로직...
}
2. 가려진 플레이어 실루엣 패스 (Depth Test Greater & Stencil Check)
동일 캐릭터 메쉬의 두 번째 Pass에서는 ZTest를 Greater로 설정하여 장애물 뒤에 묻힌 영역만 렌더링 조건을 충족시키도록 설계합니다.
Pass
{
    Name "PlayerSilhouette"
    Tags { "RenderType"="Transparent" "Queue"="Geometry+100" }

    ZTest Greater
    ZWrite Off
    Blend SrcAlpha OneMinusSrcAlpha

    Stencil
    {
        Ref 1
        Comp Equal
    }

    HLSLPROGRAM
    #pragma vertex vertSilhouette
    #pragma fragment fragSilhouette
    #include "Packages/com.unity.render-pipelines.universal/ShaderLibrary/Core.hlsl"

    struct Attributes
    {
        float4 positionOS : POSITION;
        float3 normalOS : NORMAL;
    };

    struct Varyings
    {
        float4 positionCS : SV_POSITION;
    };

    Varyings vertSilhouette(Attributes input)
    {
        Varyings output;
        float3 posWS = TransformObjectToWorld(input.positionOS.xyz);
        output.positionCS = TransformWorldToHClip(posWS);
        return output;
    }

    half4 fragSilhouette(Varyings input) : SV_Target
    {
        // 장애물 뒤에서 발광하는 실루엣 단색 컬러 반환 (예: 네온 블루)
        return half4(0.0, 0.8, 1.0, 0.75);
    }
    ENDHLSL
}
실전 적용 시 주의 사항 및 성능 최적화
- MaterialPropertyBlock 비용 확인: 렌더러별 값을 전달할 때 편리하지만 URP의 SRP Batcher와 호환되지 않습니다. 머티리얼 인스턴스, GPU 인스턴싱 등 대안과 프로파일링 결과를 비교해 선택합니다.
- 디졸브 전환 보정 (Flickering 완화): 플레이어가 기둥 뒤로 순간 이동하거나 거리가 빠르게 변할 때 디졸브 마스크가 튀는 현상을 막기 위해 C# 스크립트 측에서 Radius 수치를
Mathf.Lerp로 보간합니다. - URP RenderObjects Feature 활용: 캐릭터 셰이더 다중 패스 대신 Unity URP의 Custom Render Pass /
RenderObjectsFeature를 활용하면 메쉬 수정 없이 지형지물 레이어에 그리는 오버레이 실루엣을 독립적으로 구축할 수 있습니다.